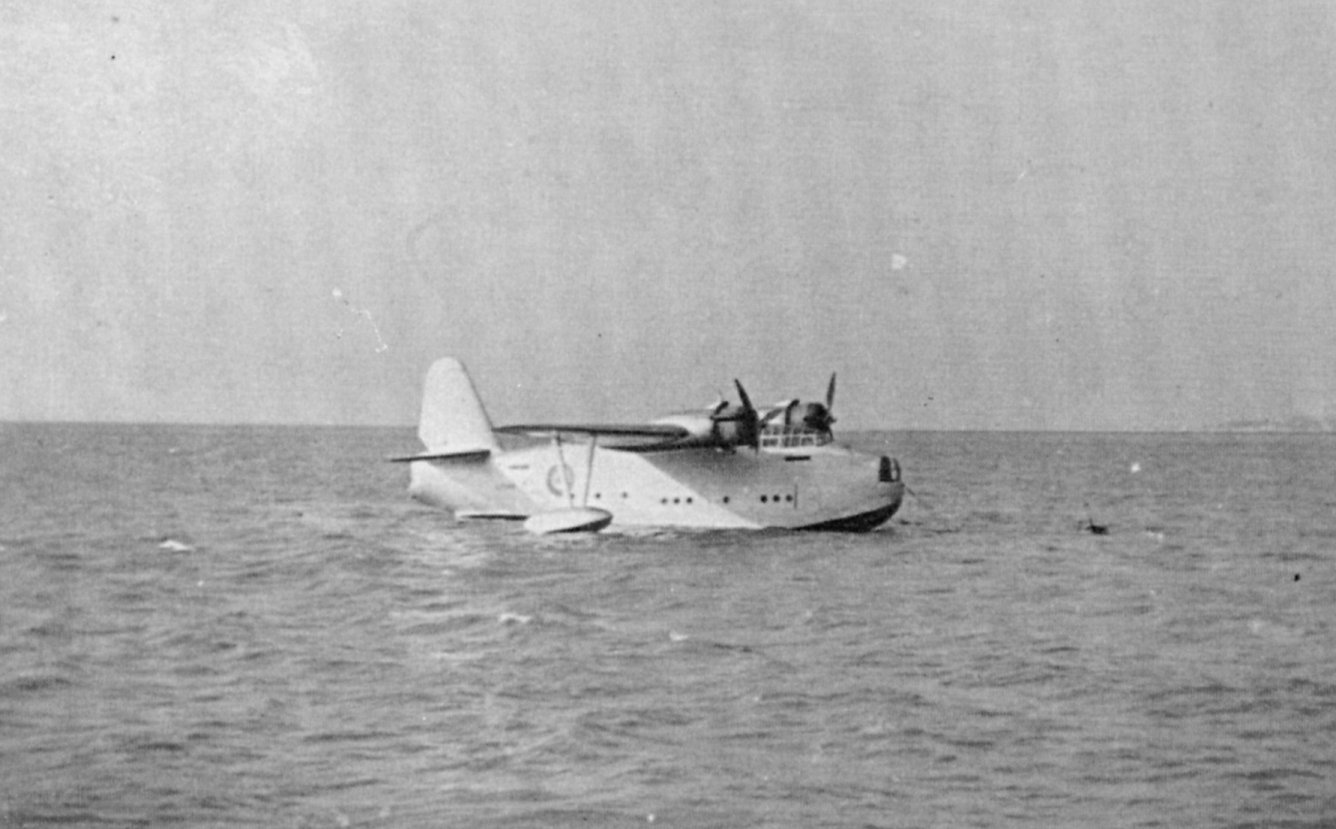
This gallery represents all the images I have on the Saro Lerwick. It seems that it was never really that photogenic during WWII but at least from these shots, together with the internal pictures and drawings in the Flight Manual (click References/Flying Boat Manuals/Saro Lerwick) and some plans, there is enough to add detail to the only ever 1/72 scale kit released, the now ancient Contrail vac-form. Nice kit if you can get one, it makes up well.

If you have anymore images that are not featured here, please send them in for inclusion here.

1.jpg (193472 bytes) 17.jpg (68015 bytes) 3.jpg (46028 bytes) 11.jpg (67052 bytes)
16.jpg (134751 bytes) 2.jpg (186562 bytes) 25.jpg (155127 bytes) 18.jpg (65530 bytes)
13.jpg (120639 bytes) 32.jpg (144783 bytes) 33.jpg (145541 bytes) 12.jpg (131657 bytes)
36.jpg (124134 bytes) 20.jpg (146225 bytes) 9.jpg (97355 bytes) 34.jpg (197383 bytes)
21.jpg (140722 bytes) 24.jpg (134598 bytes) 23.jpg (114880 bytes) 19.jpg (90293 bytes)
26.jpg (116162 bytes) 5.jpg (145633 bytes) 28.jpg (109600 bytes) 27.jpg (303369 bytes)
31.jpg (176704 bytes) 30.jpg (140476 bytes) 4.jpg (110965 bytes) 22.jpg (109955 bytes)
37.jpg (182988 bytes) 38.jpg (209368 bytes) 29.jpg (98455 bytes) 14.jpg (76478 bytes)
10.jpg (191976 bytes) 15.jpg (182887 bytes) 6.jpg (103497 bytes) 7.jpg (84631 bytes)
8.jpg (87074 bytes)